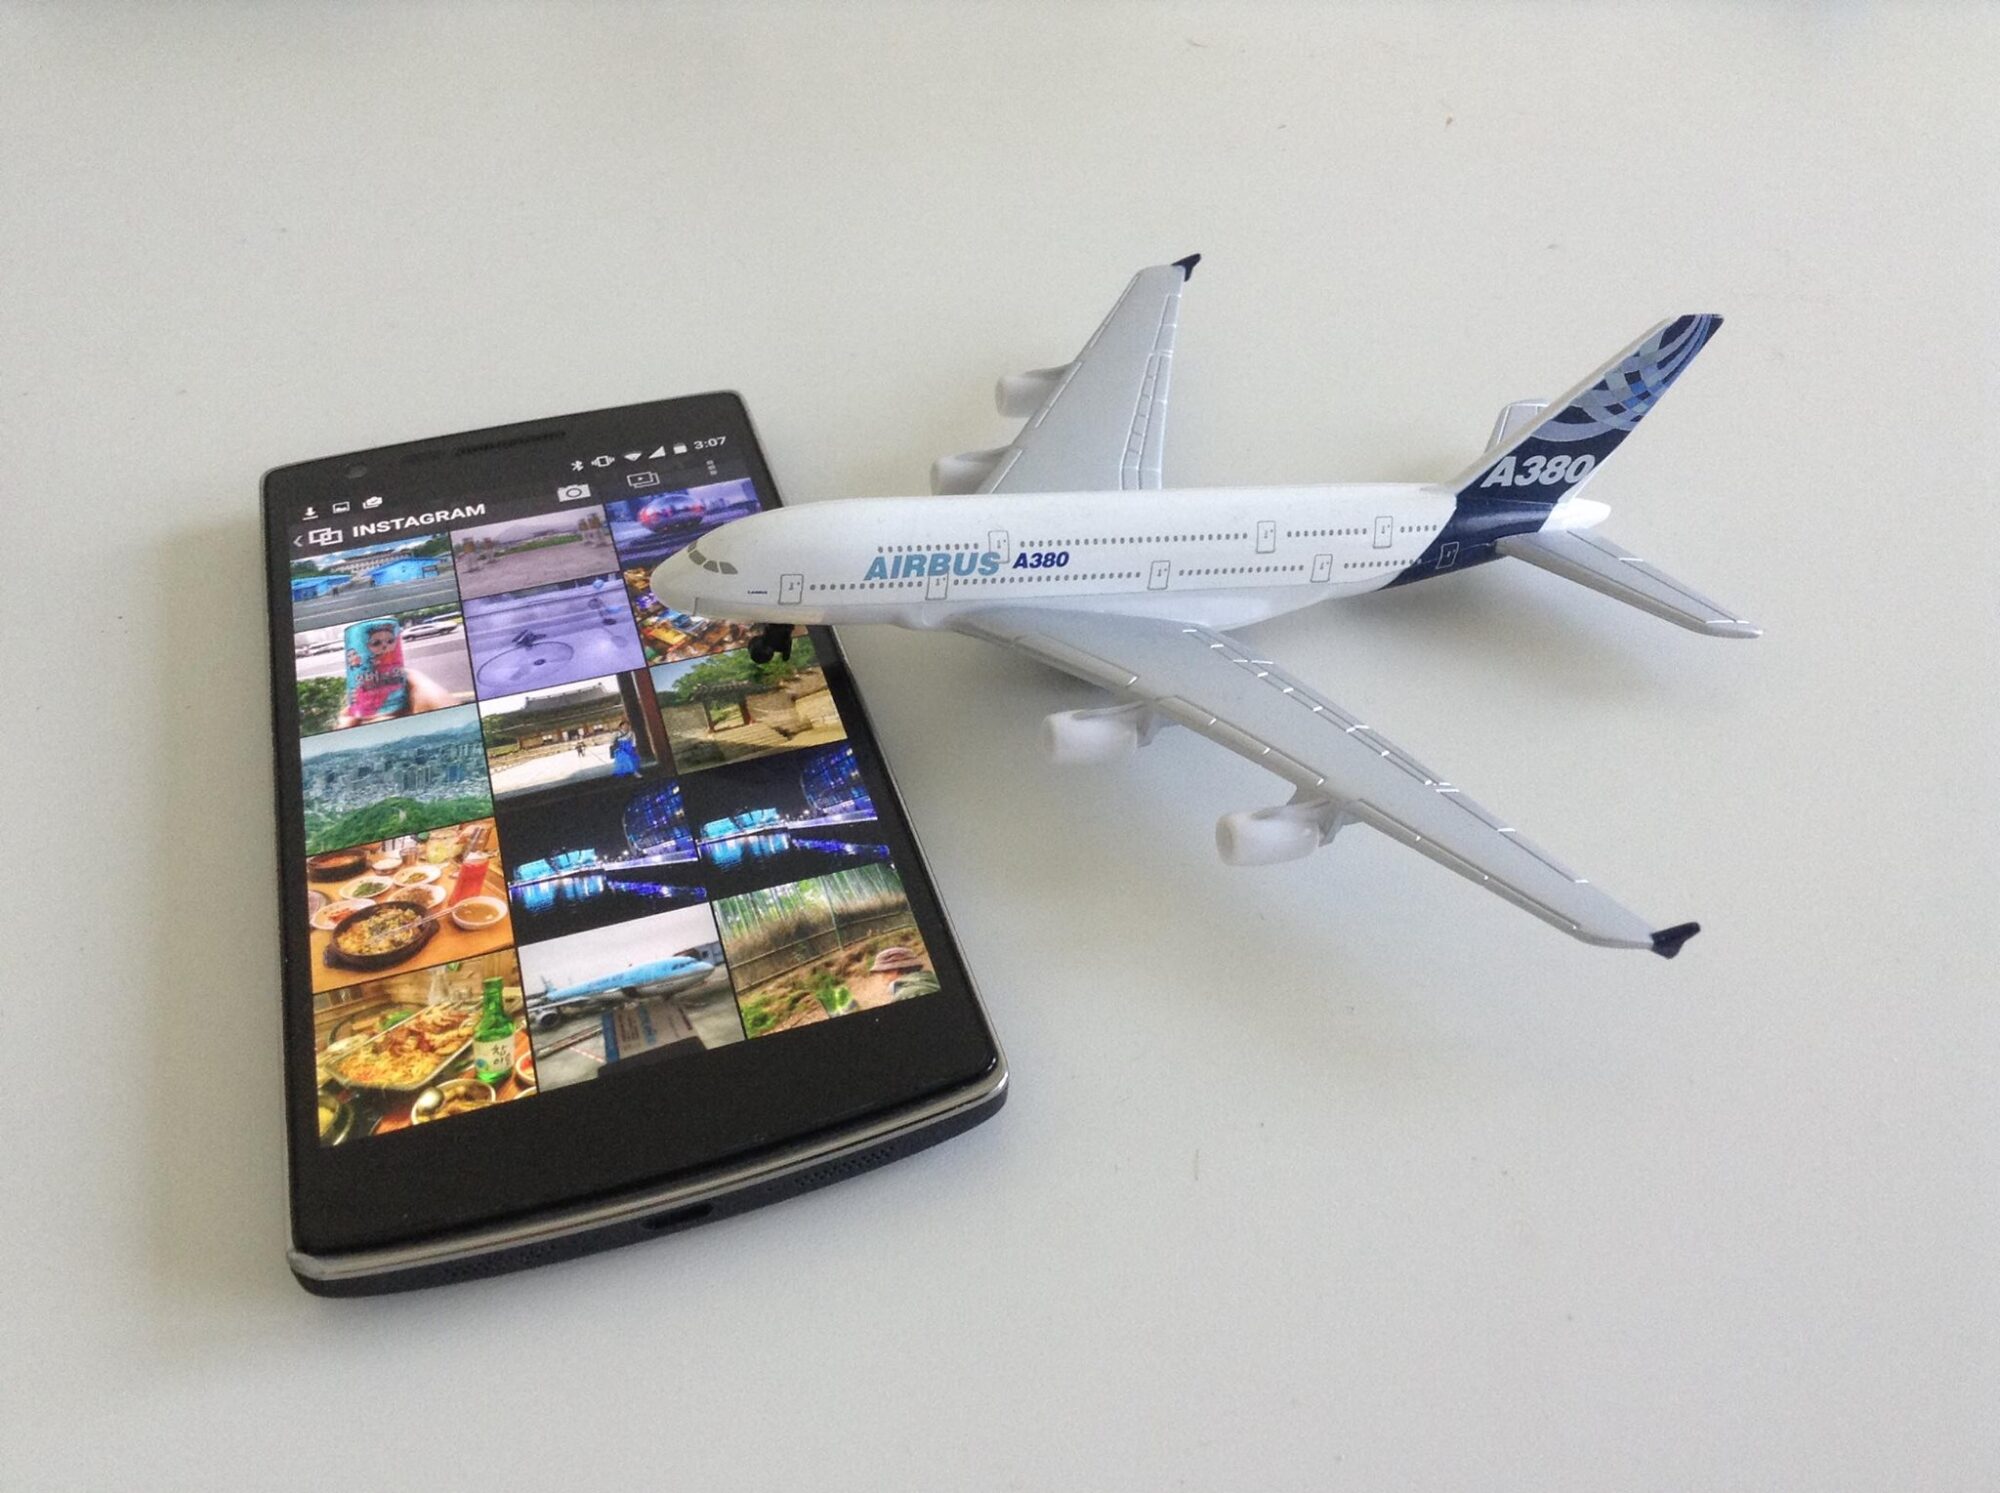
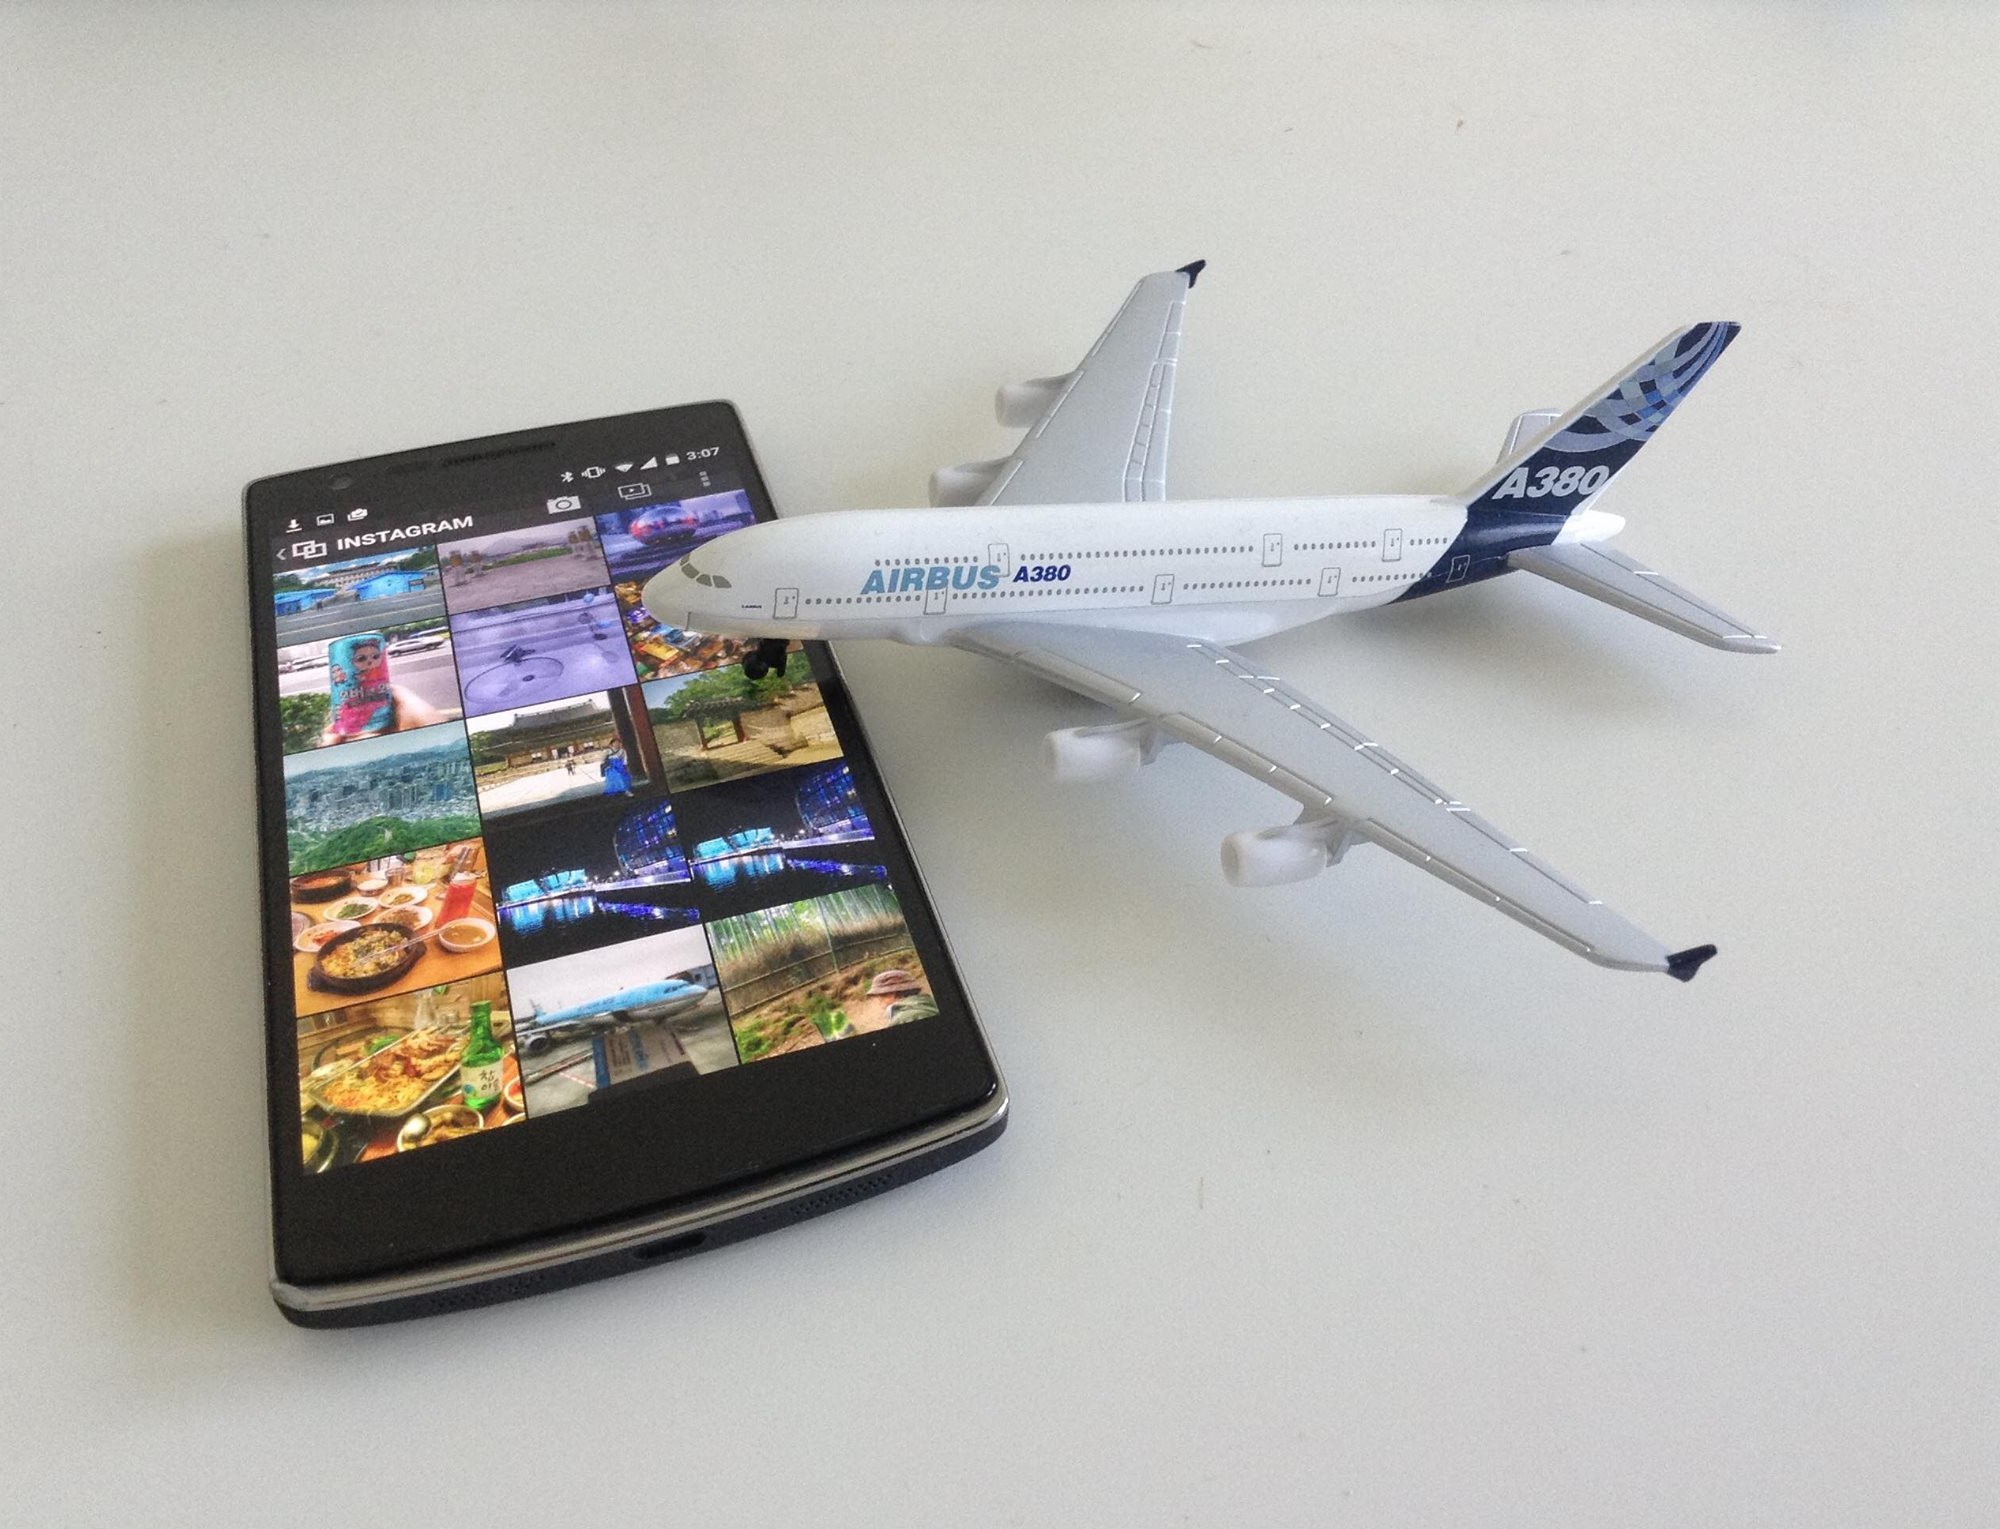
I got some questions about my Instagram shots: you know the typical things, what camera, how many #filters? Well I don’t have a professional camera. For me the OnePlus one is the ideal mobile camera. It still fits in my pocket but the screen is bigger than average which makes it easier to see what you are shooting. To make pictures more lively in seconds I use google+ for Android. There are many more tools, just play around and see what works best for you.
Remember that taking good photos is an art, a pro camera and loads of filters do not turn you into a photographer. I just have fun with my mobile phone and try to get tips and tricks here and there on how to take better shots.
 I got some questions about
 Let’s have a look at some before and after shots and how you get there.
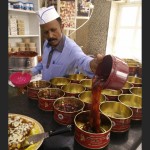
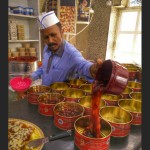
Before:


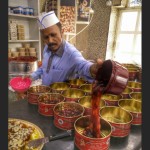
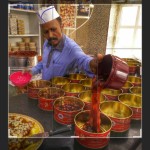
and after:

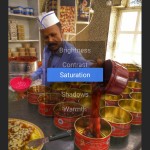
The effect that I use most often is HDR and then increase saturation and I play around with contrast and brightness. When cropping your image, use a grid to place points of interest following the 1/3 rule. Basically you aim to position your subject on one of the intersections of the grid, this post explains the theory very well.
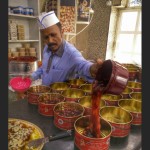
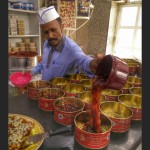
To follow the tutorial: click on the first image to open the gallery where you can navigate to the next steps:

If wanna see more edited travel shots, check out my instagram 🙂