You always wanted an original travel map for your room or you just want to share your next trip details in a different way? In this post I will explain you how to take your travel map to the next level in 5 easy steps. Share your creations on twitter with #MyTravelMap
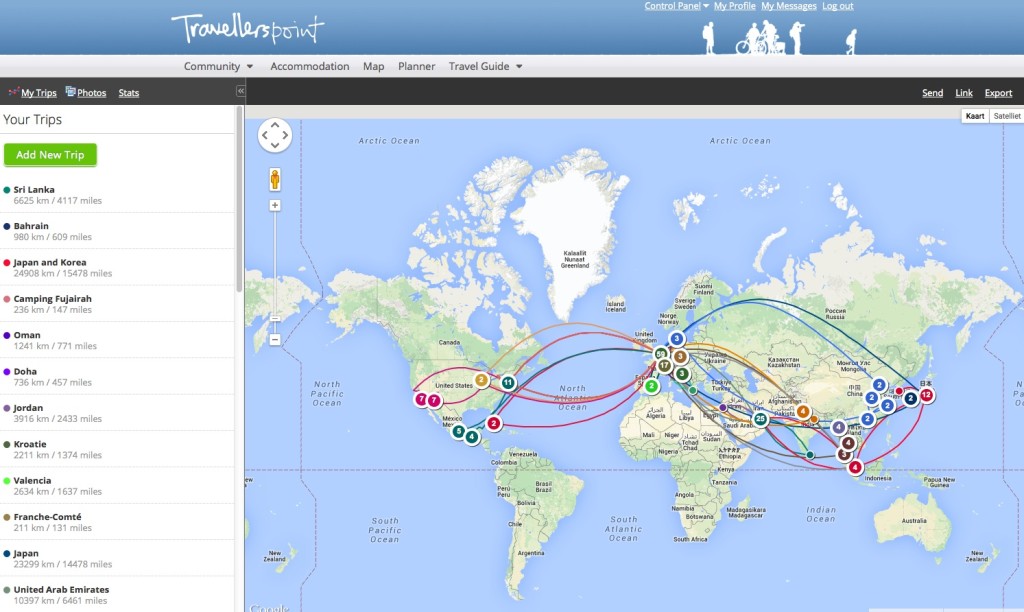
We will go from this:
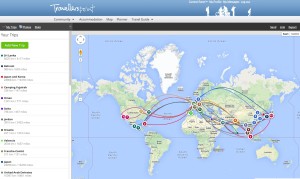
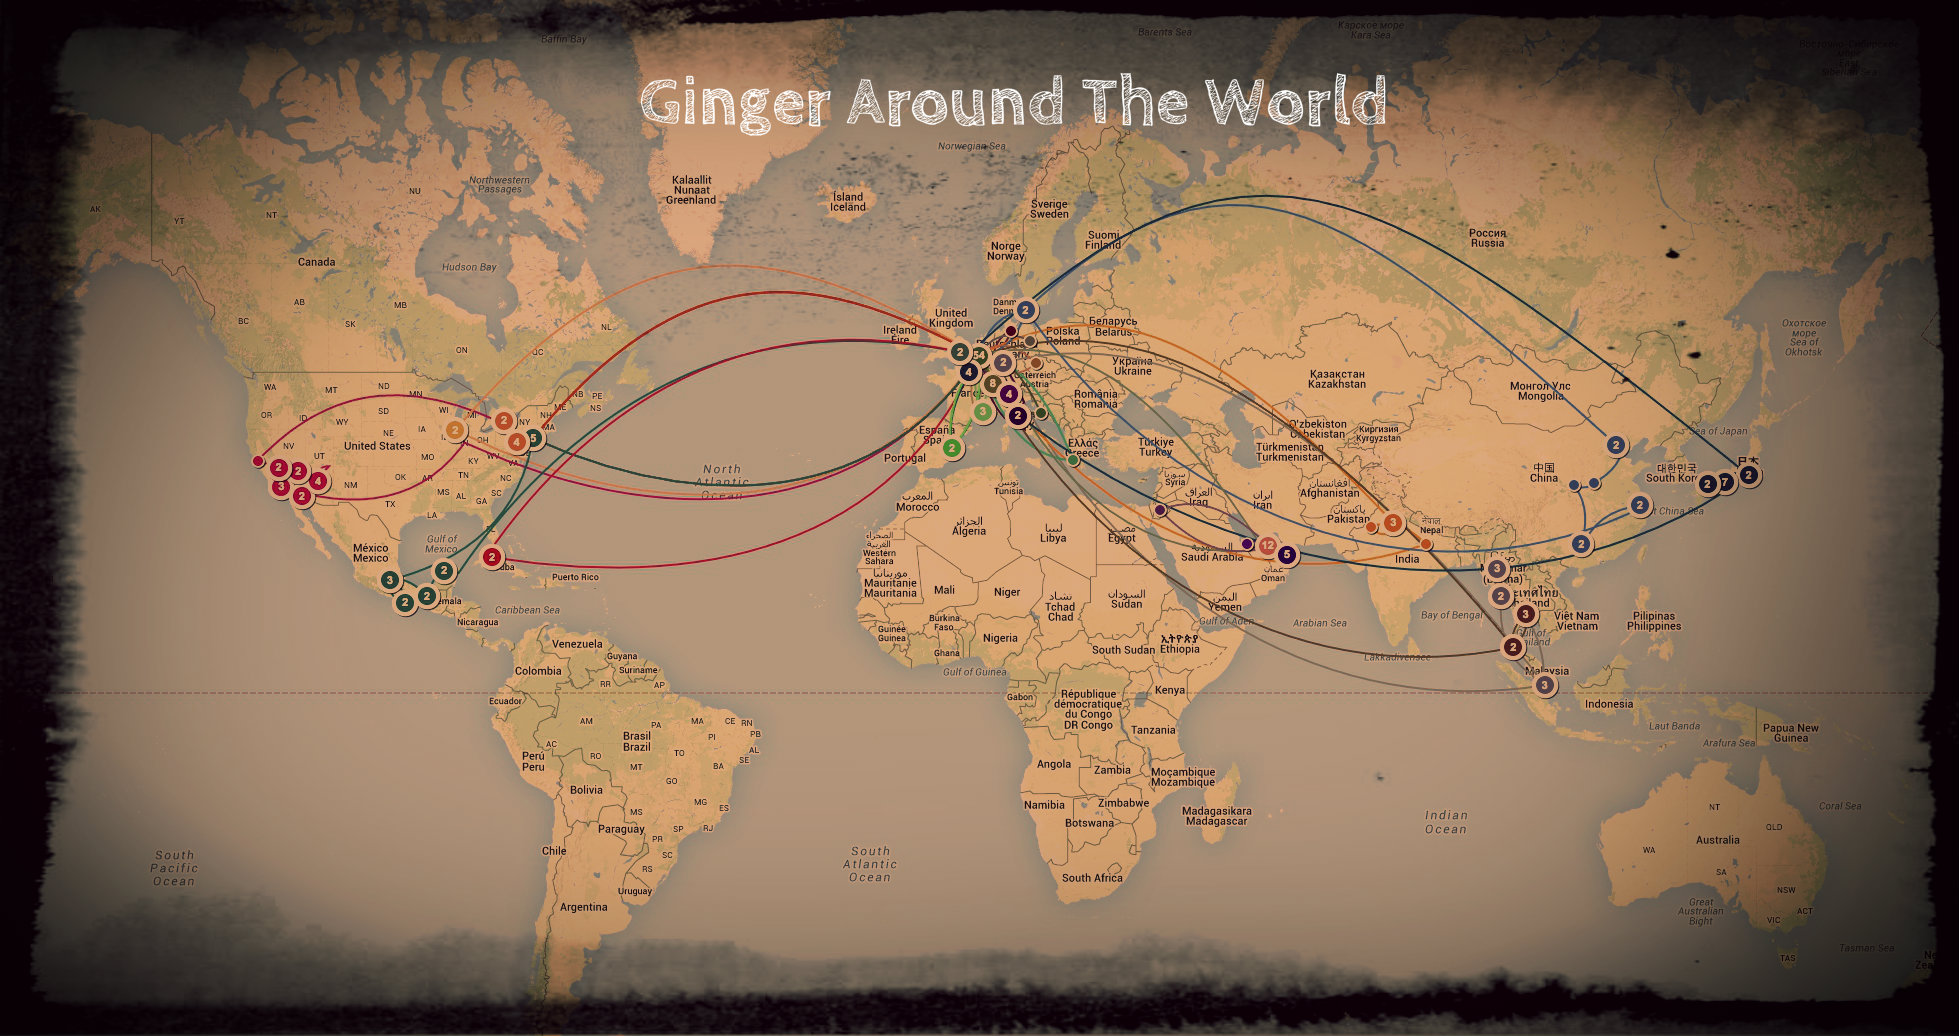
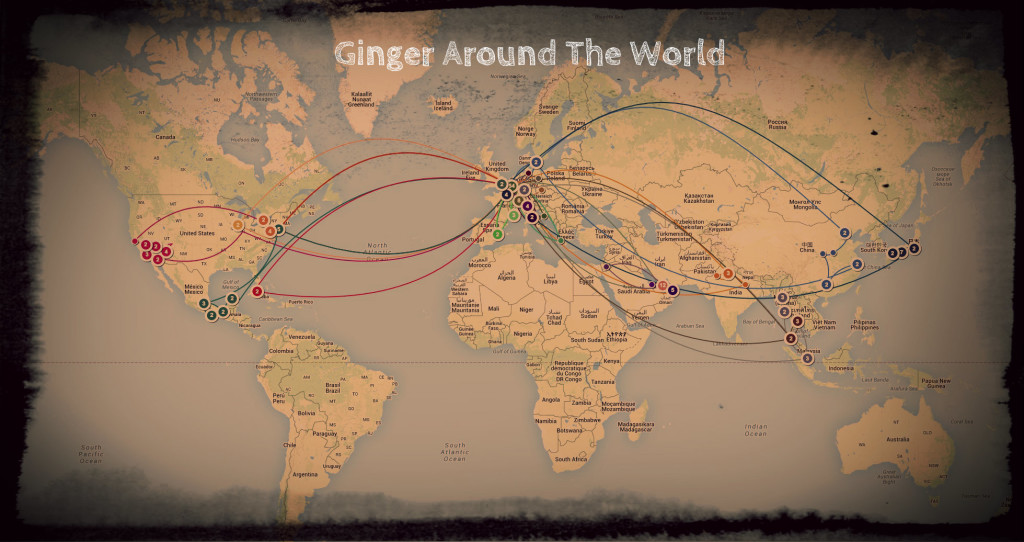
to this:
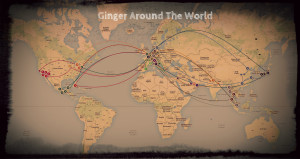
Step 1 – Sign up at www.travellerspoint.com for free.
Step 2 – Add your trips to the map
Step 3 – Take a screenshot of your map
Step 4 – Open your map with www.pixlr.com/express
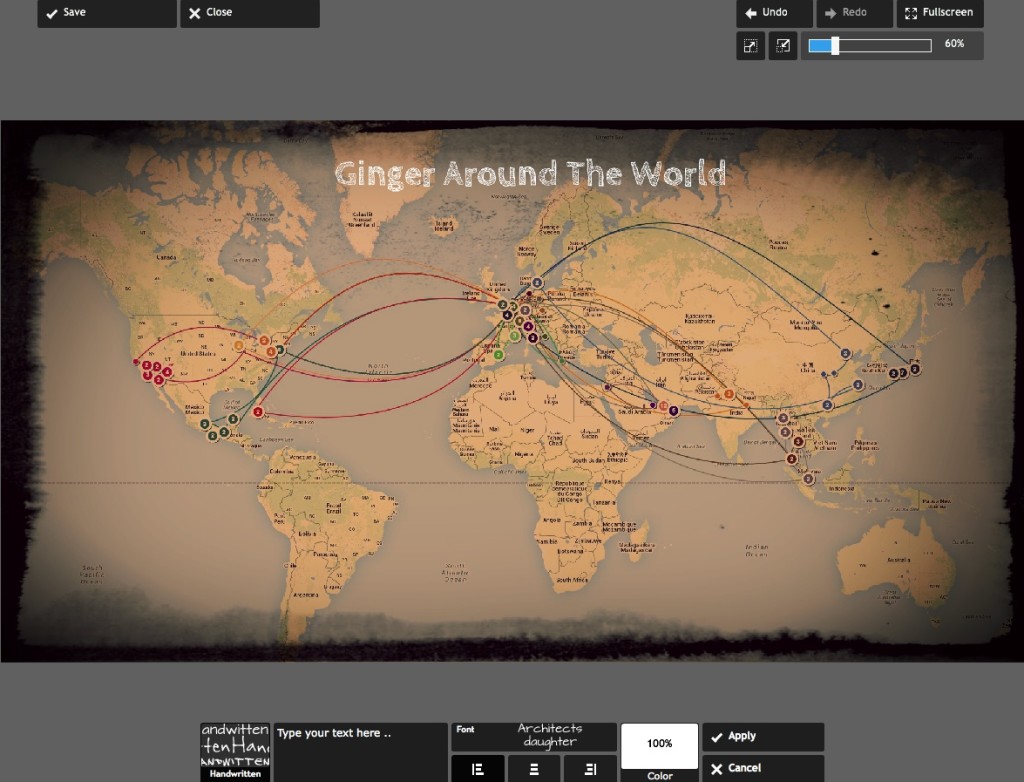
Go to pixlr express and upload the screenshot of the map.
What you do next is up to your creativity. I will just show you which effects I applied.
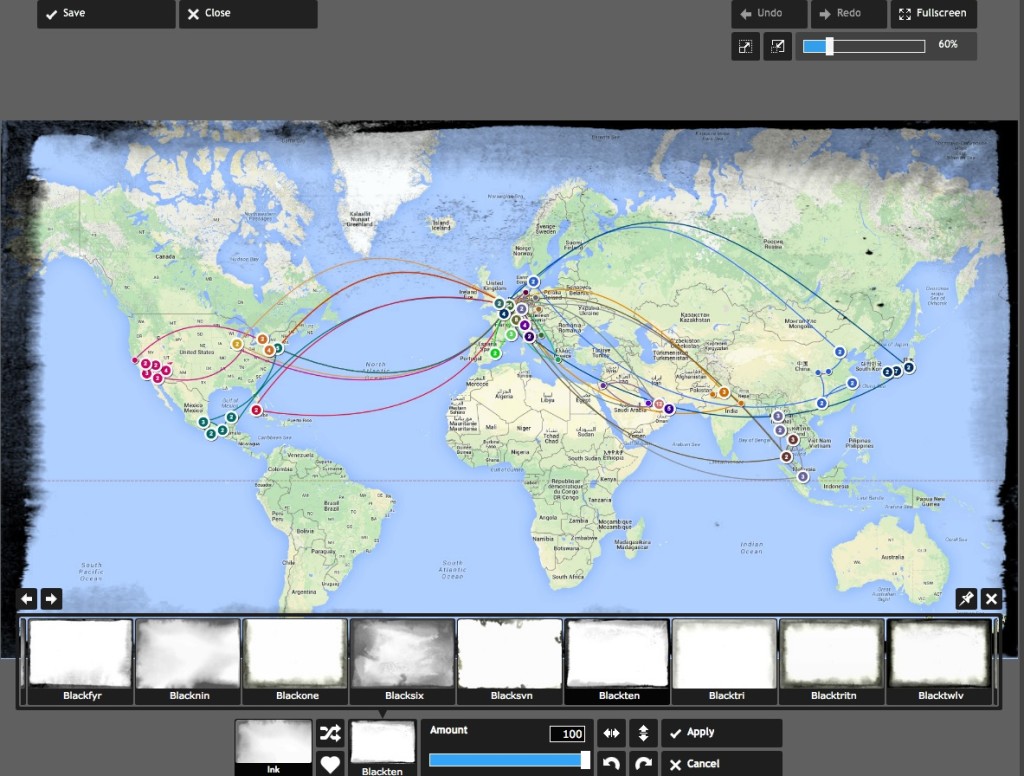
The first thing I did was adding a frame.
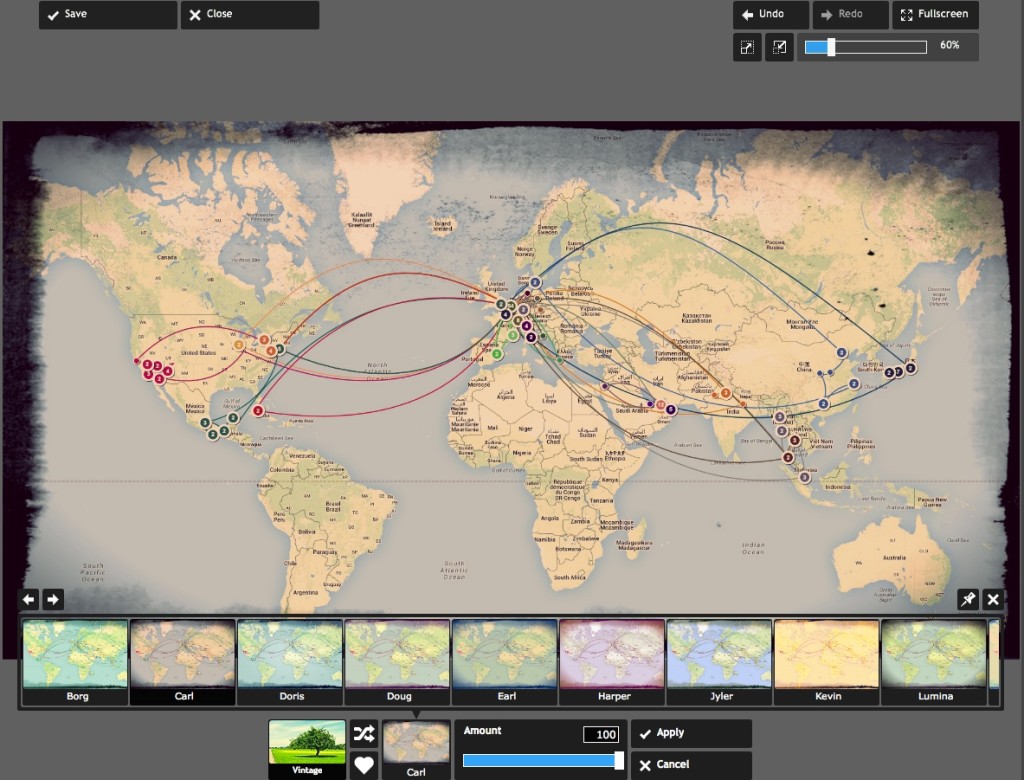
Then I applied a vintage effect.
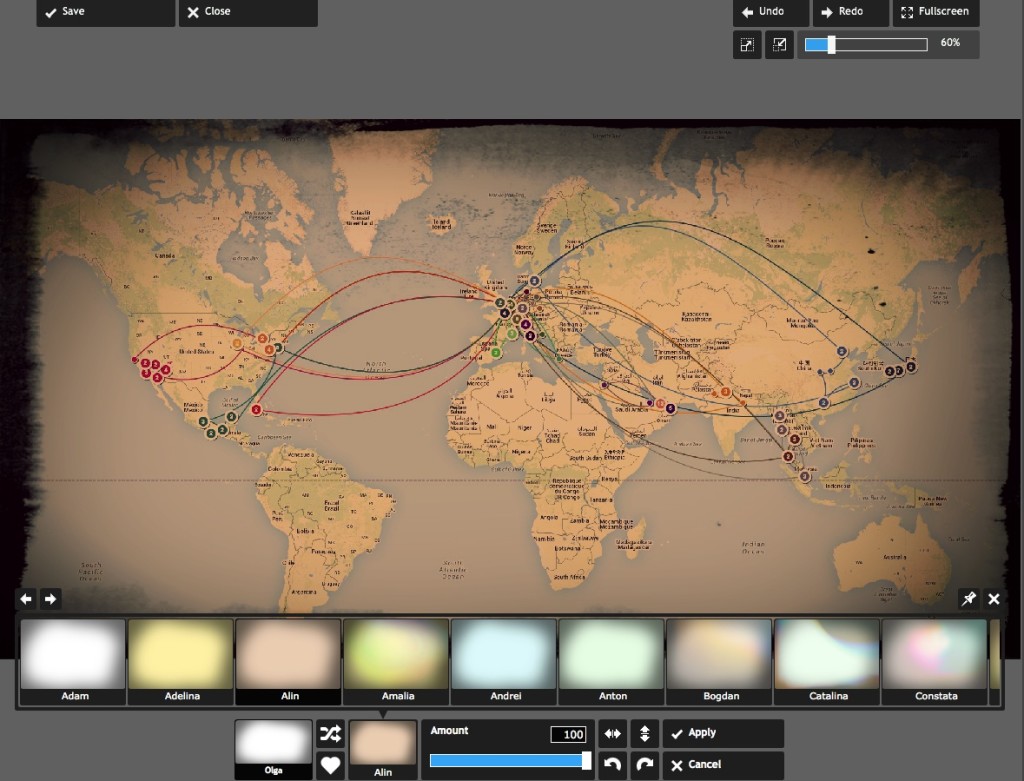
Then I applied the Olga effect.
Finally I added some text.
Step 5 – Save your map
Save your map and download it.
(for personal non commercial use only)
Nicely done. Helpful. Thanks
Shafi